How it is made
Every part carries a number, because it fits in one place only
A six-metre star chandelier is not bought: it is drawn, cut, welded, numbered, lacquered, taken apart and rebuilt ten thousand kilometres away. These are the photographs of that journey, taken in the workshop.
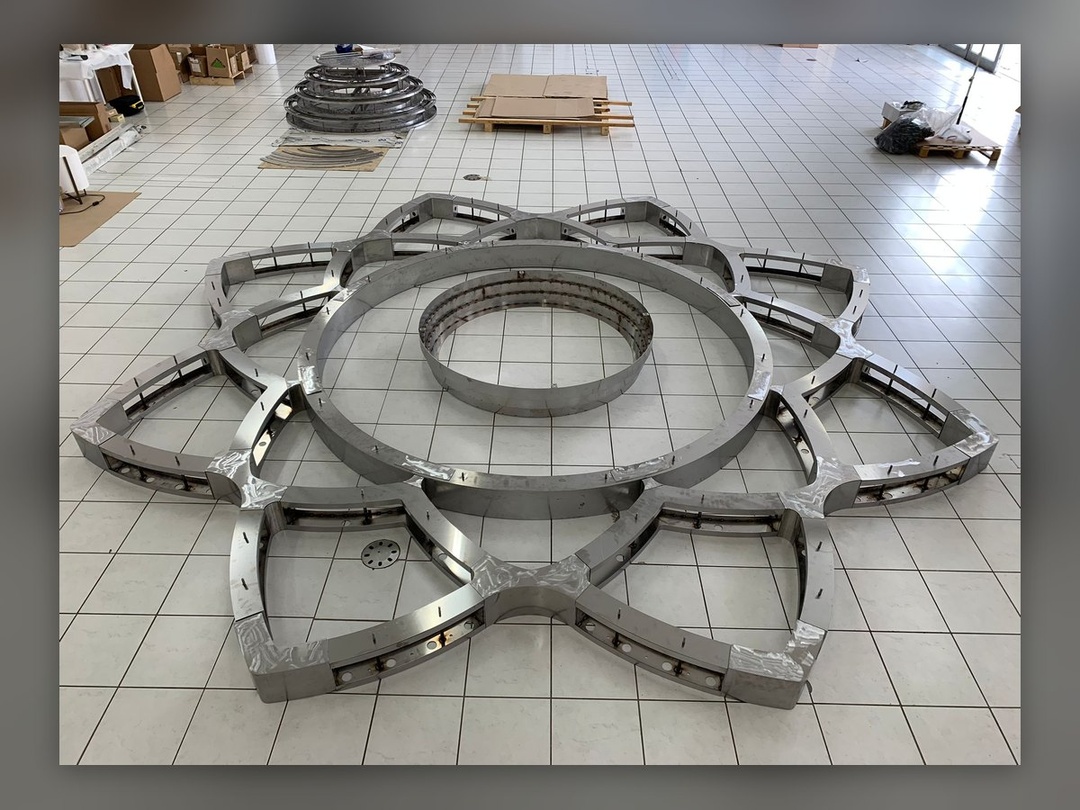
The test that matters happens on the floor
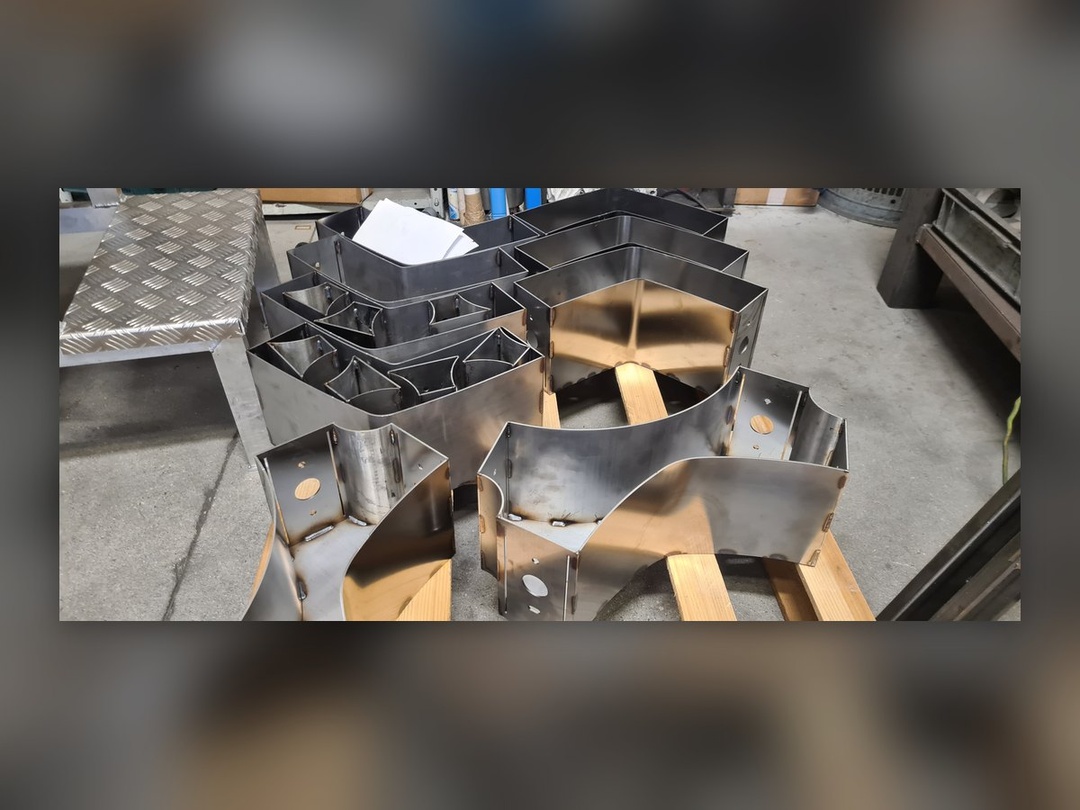
Before lacquering, the star is dry-assembled on the workshop floor. It answers one question: does it close?
Eight points around two concentric rings. If one point is a millimetre too long, the error does not show here: it shows on the ceiling, on site, when there is no time left.
The steel, before it becomes a light
The drawing becomes a fretwork, the fretwork becomes a structure.
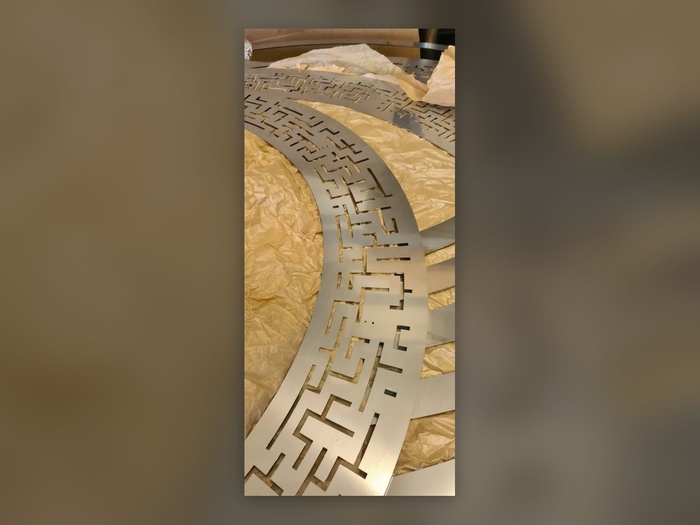
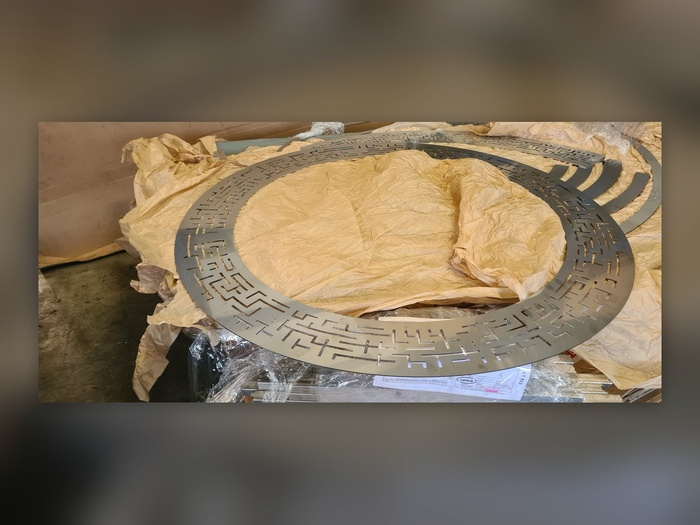
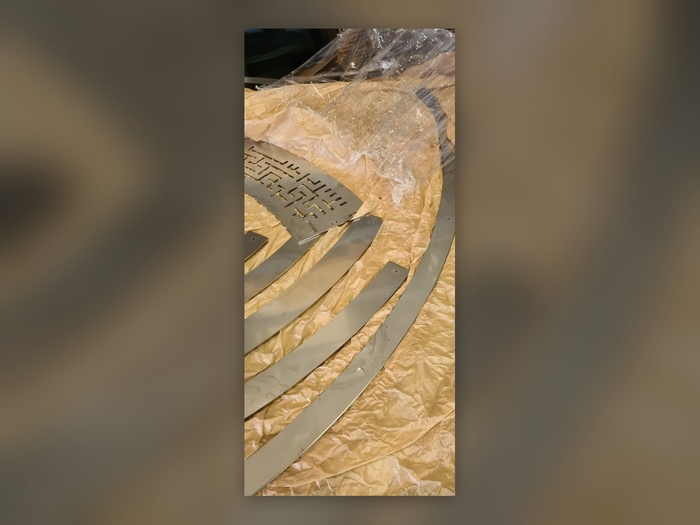
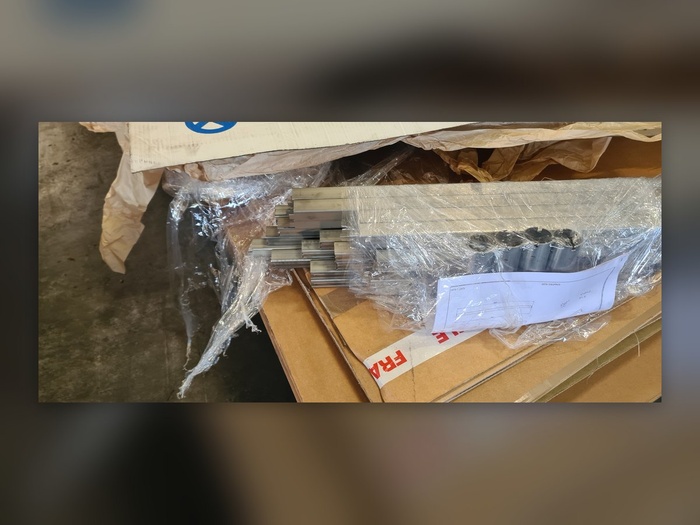
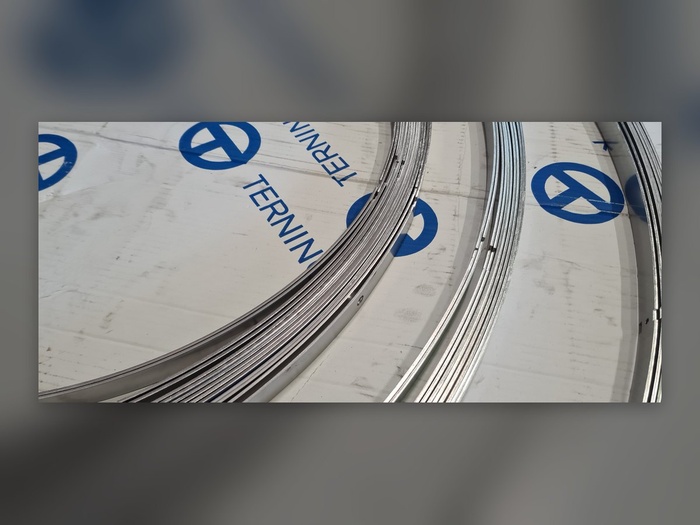
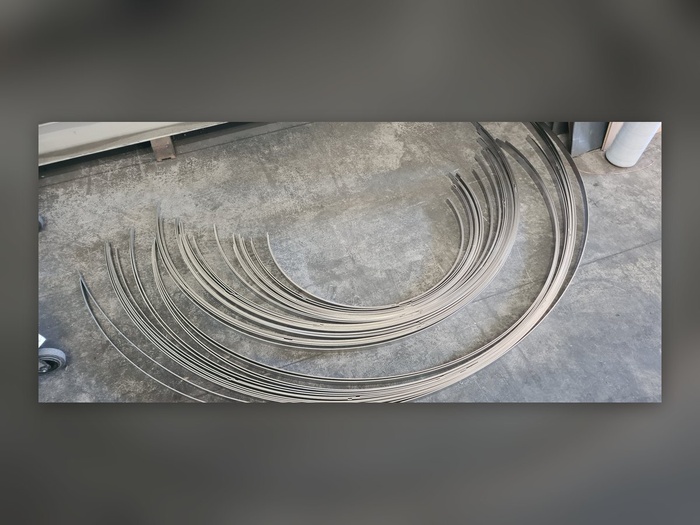
Five states of the same object
Raw, welded, numbered, lacquered, taken apart. In that order.
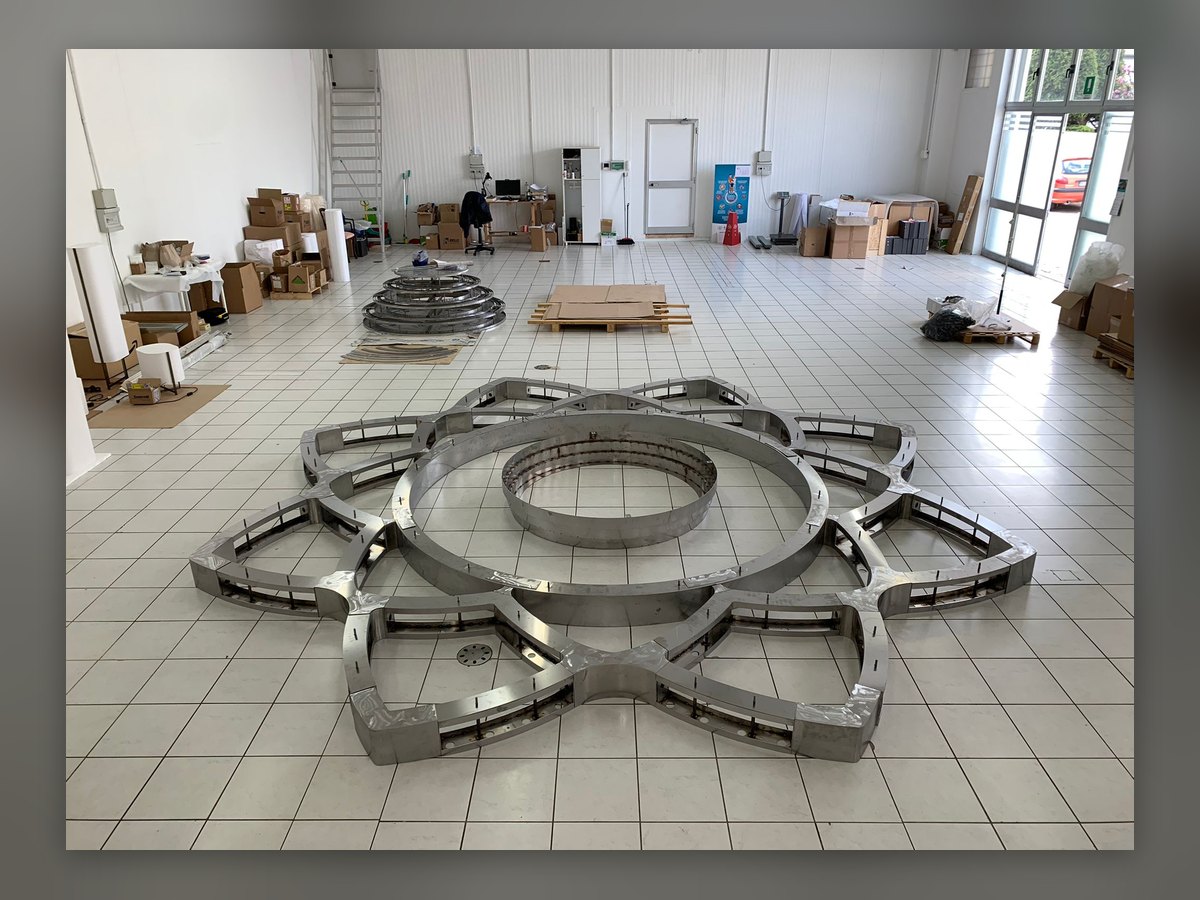
Dry-assembled in raw steel: checking that it closes
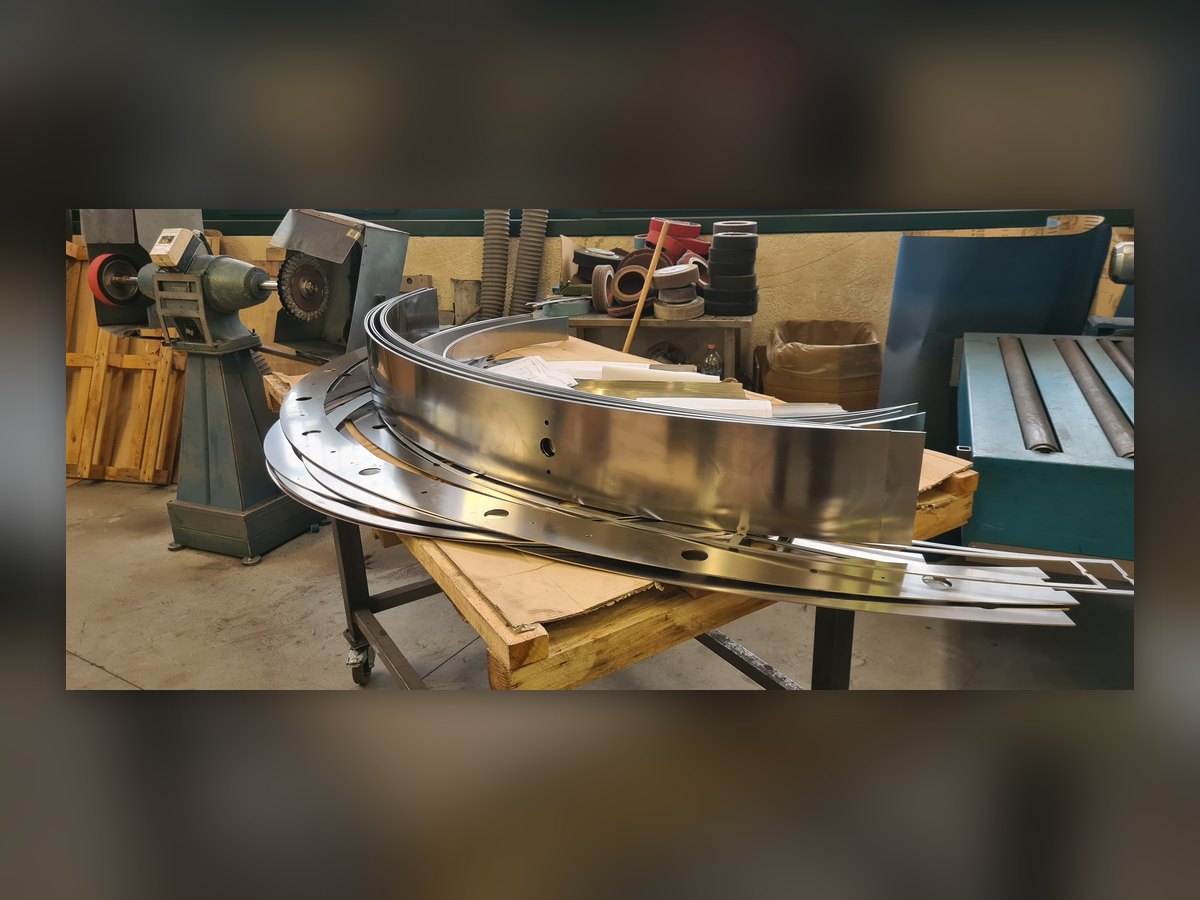
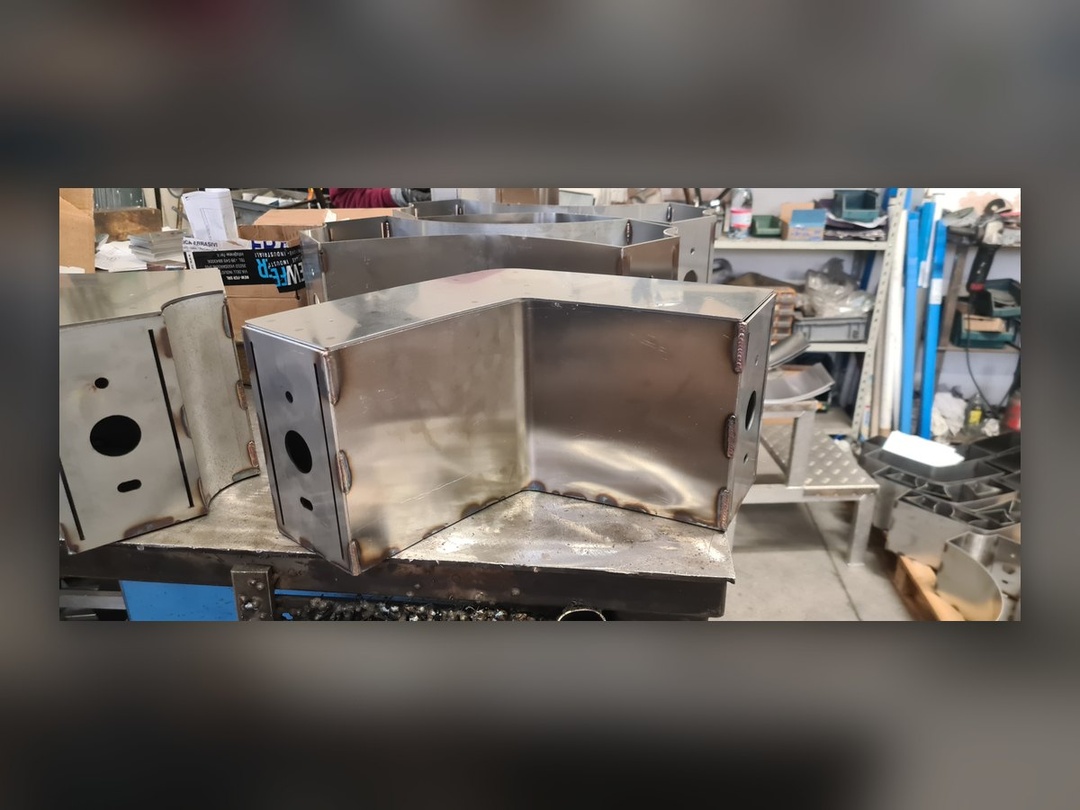
The metal parts of the central ring, on the bench
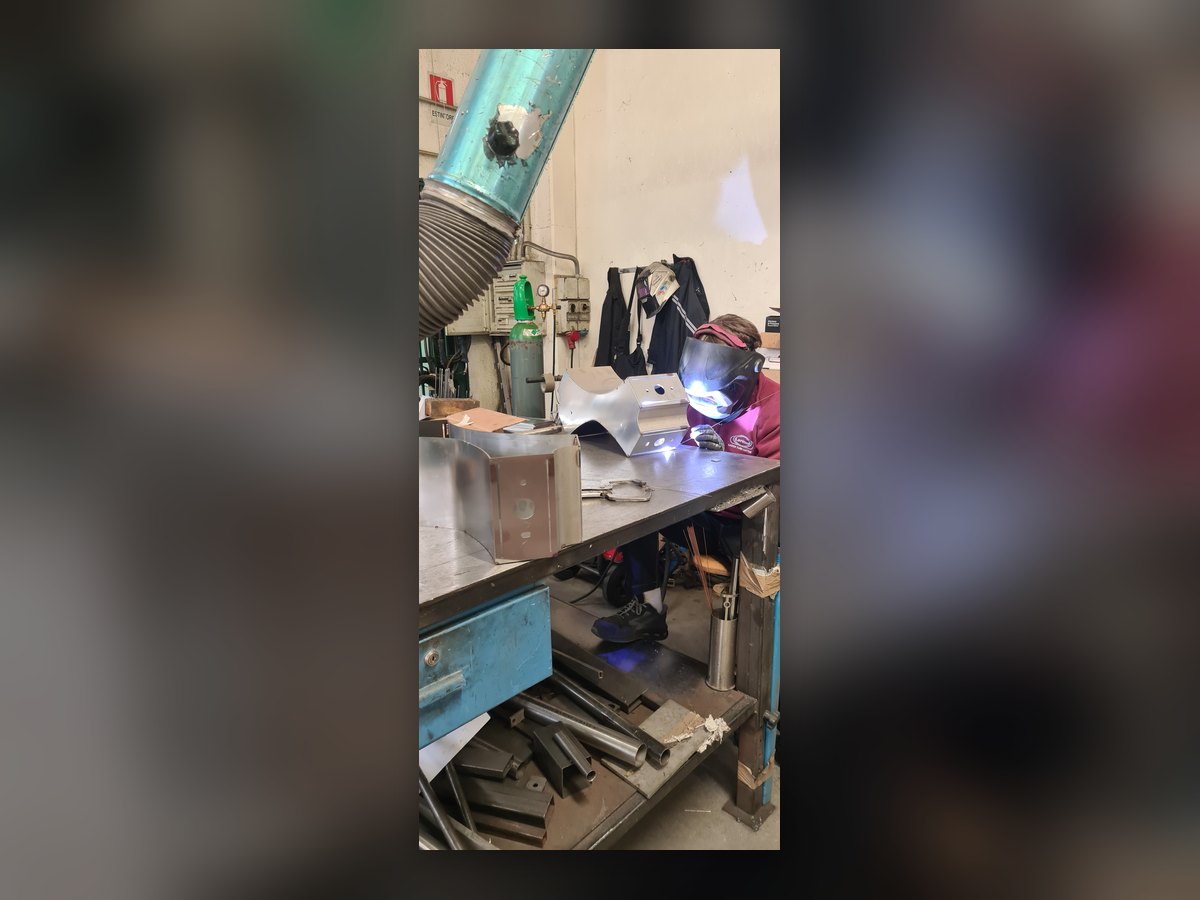
Welding point number five
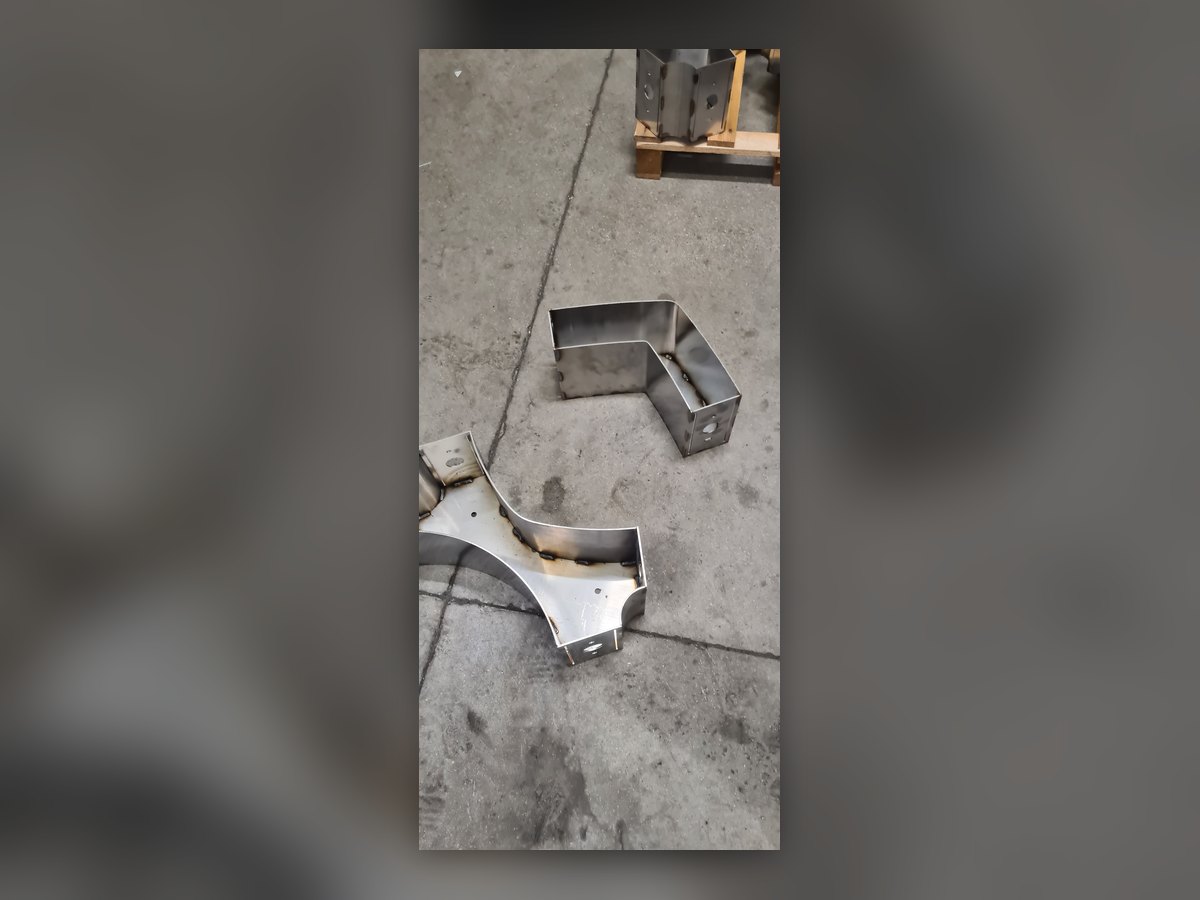
Points five and one: identical to look at
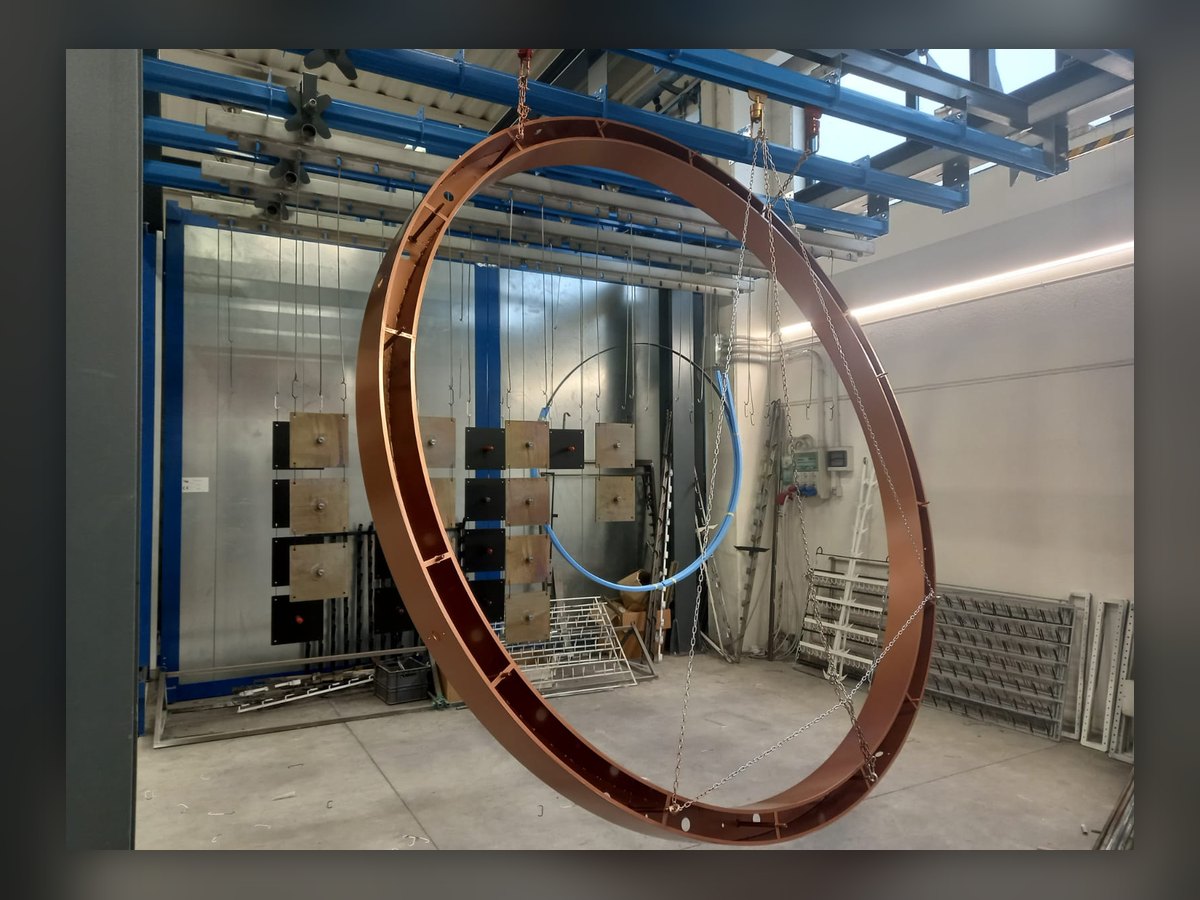
The central ring after lacquering
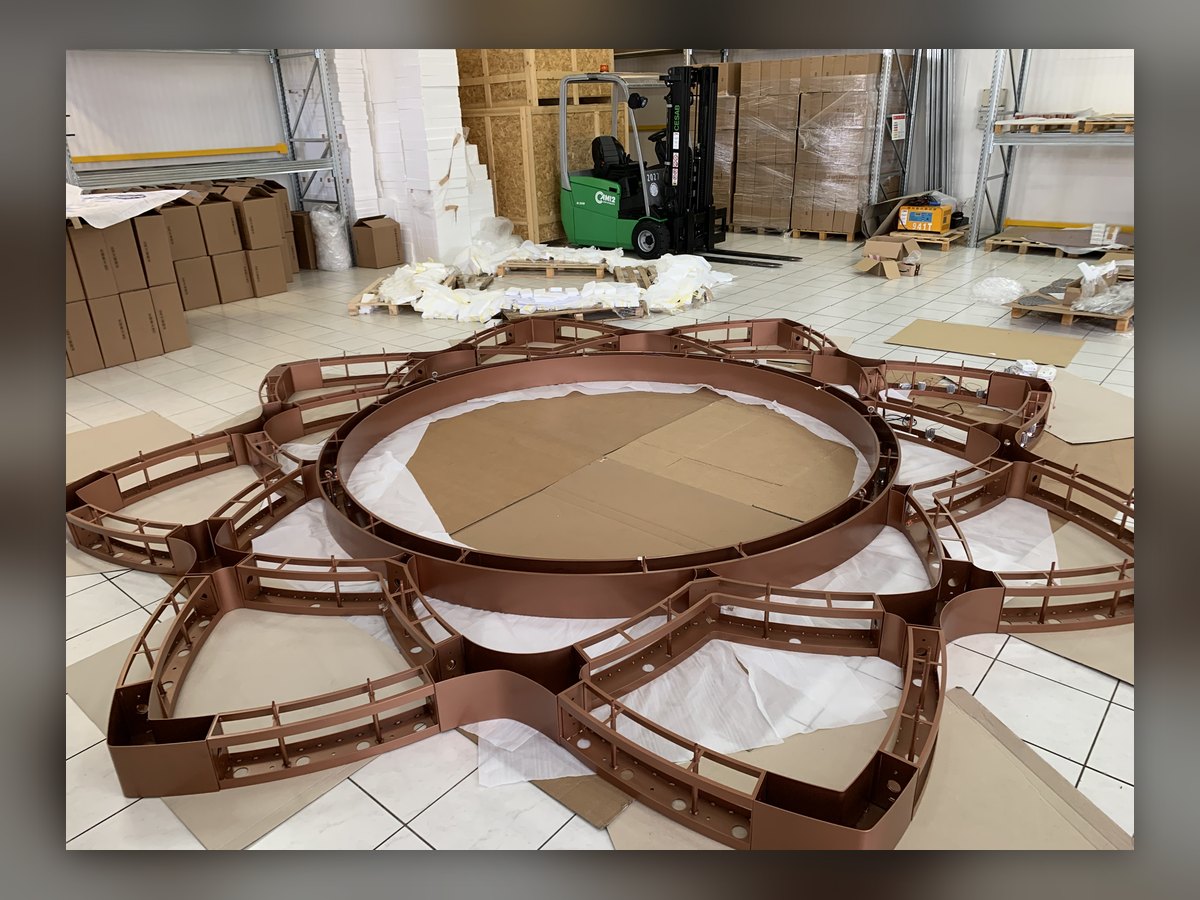
Taken apart again, ready to travel
A ring of light in pleated fabric, from frame to crate
The open frame with its LED strip, the bronze suspension, the pleated shade in sections: before packing, the ring was switched on and checked in the workshop.
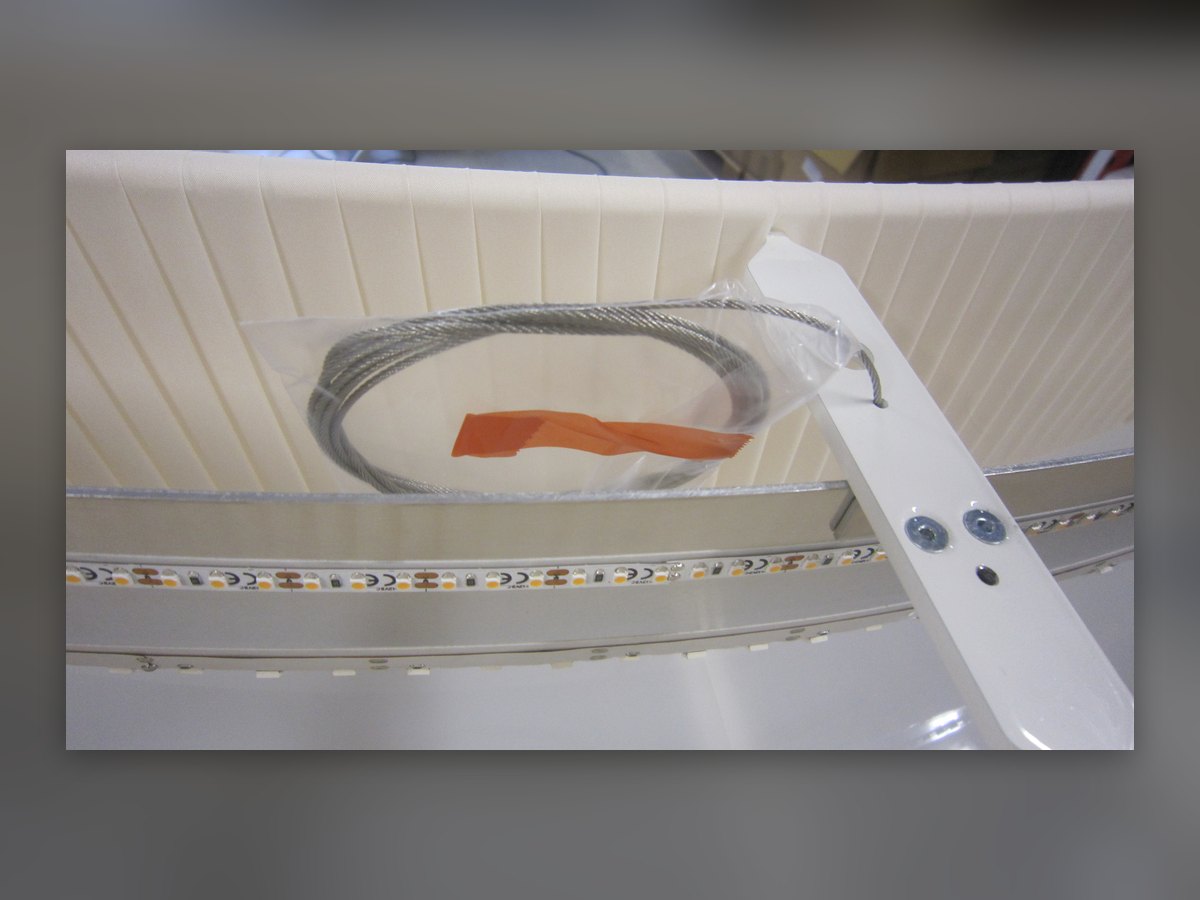
The open frame: LED strip and crossbar
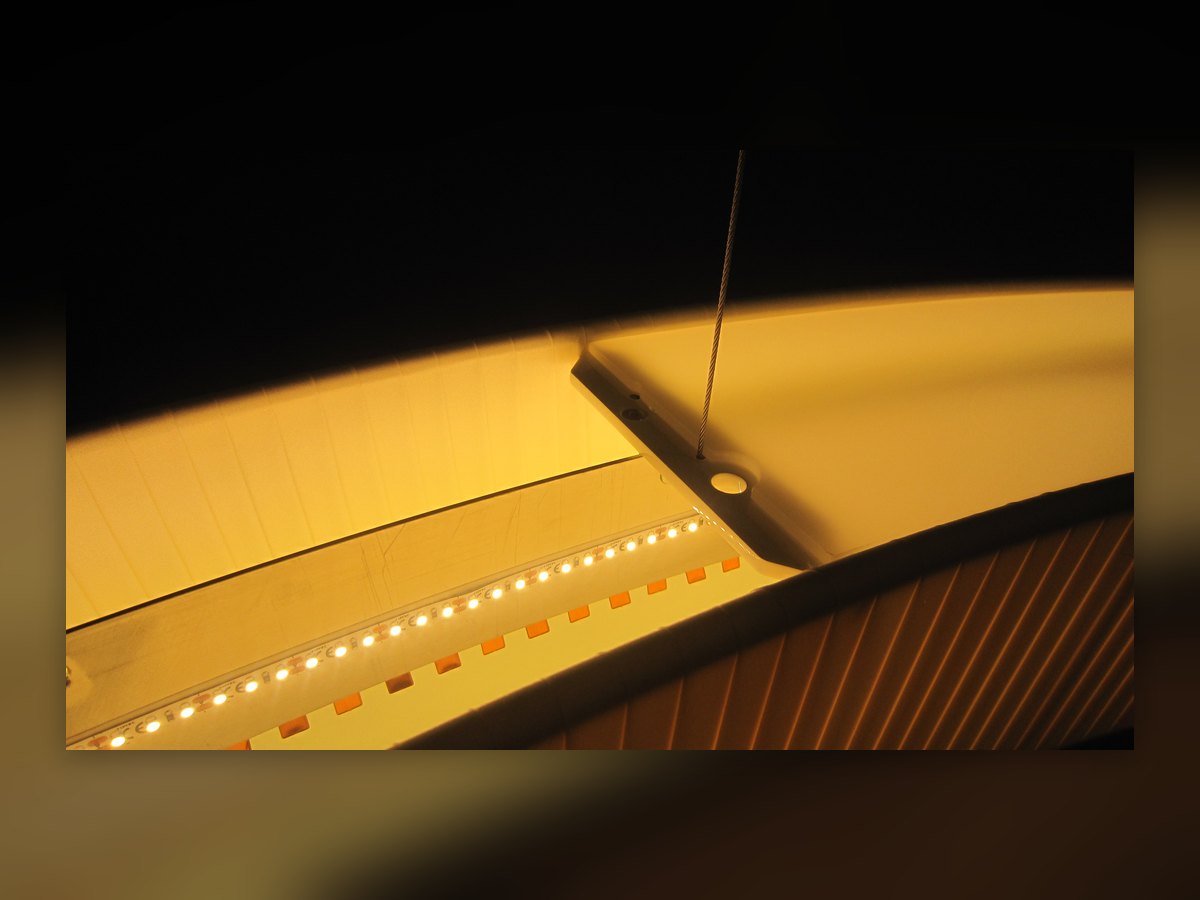
The LED strip along the inner edge
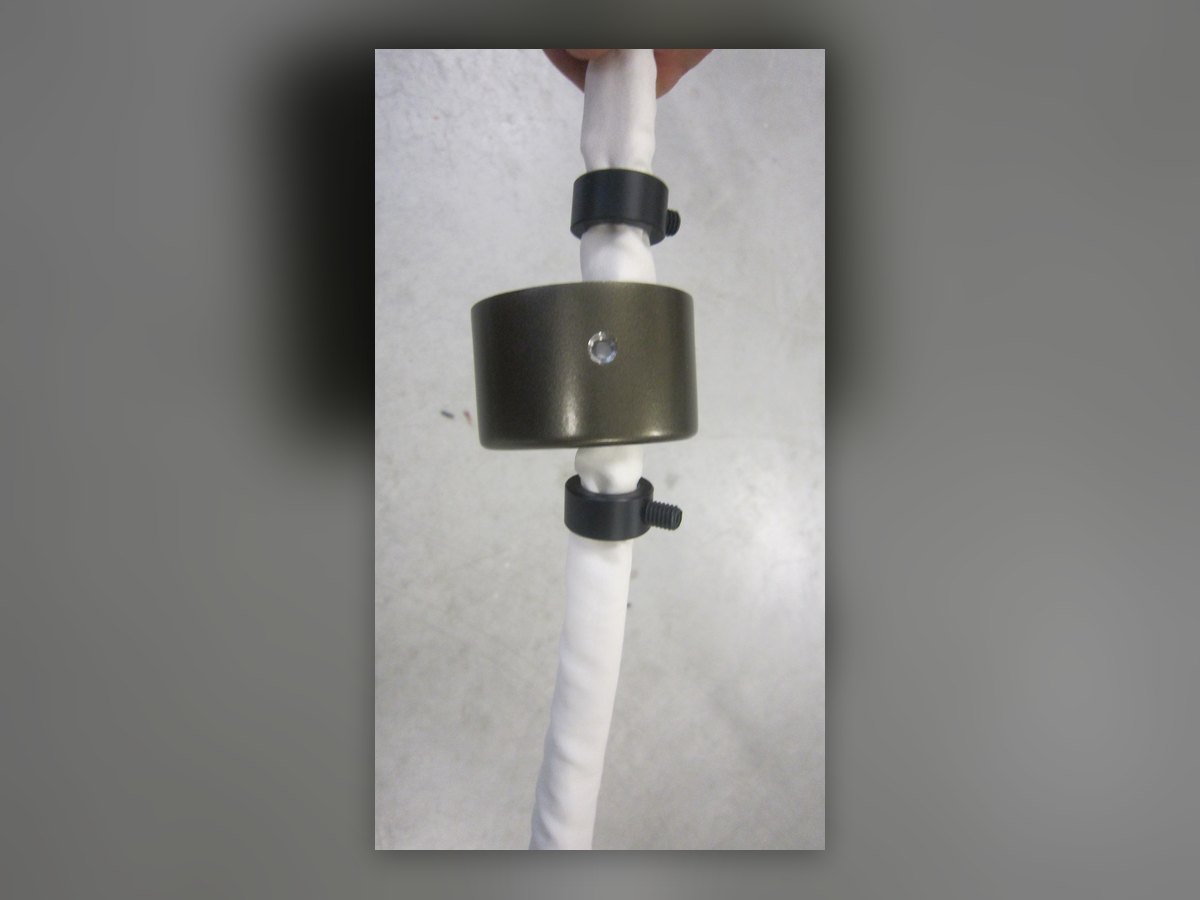
The bronze canopy on the sheathed cable
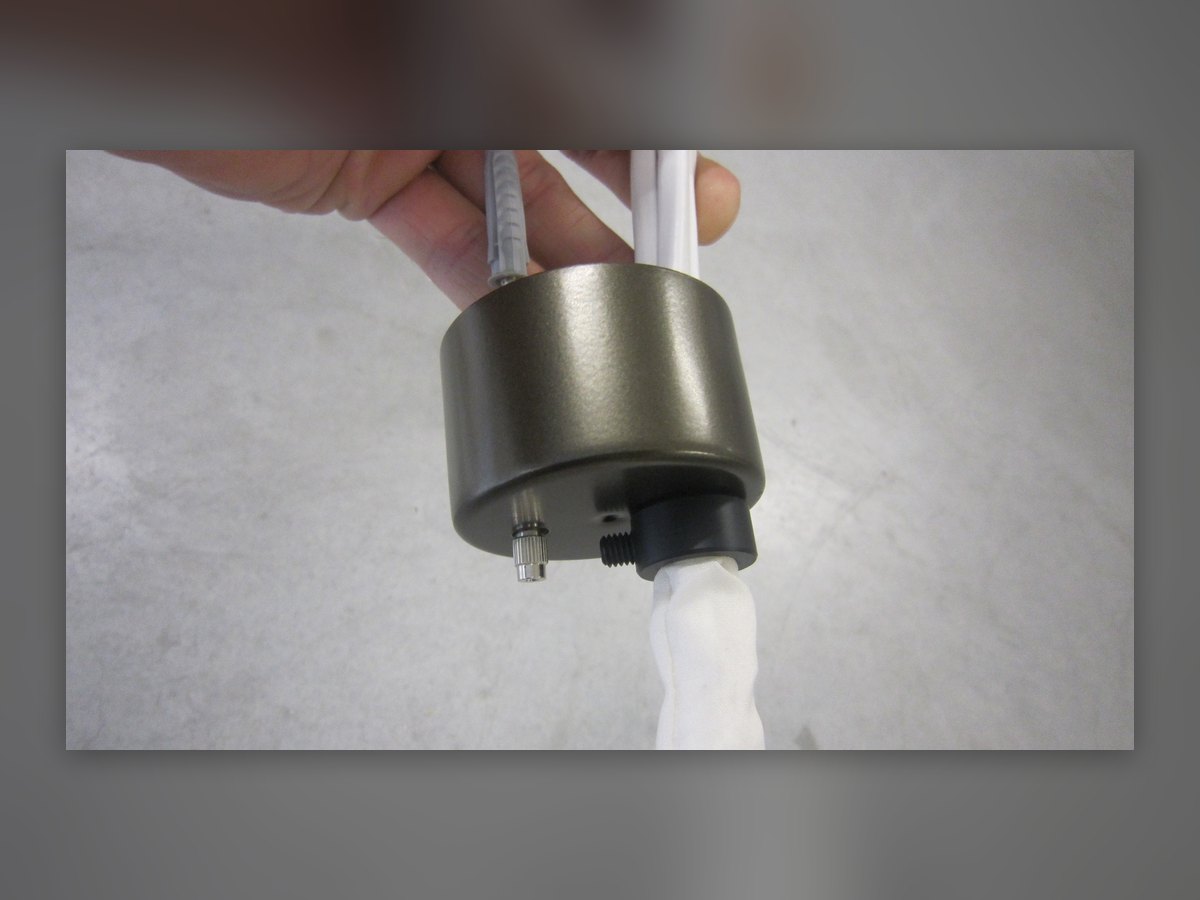
Checking the cable fitting
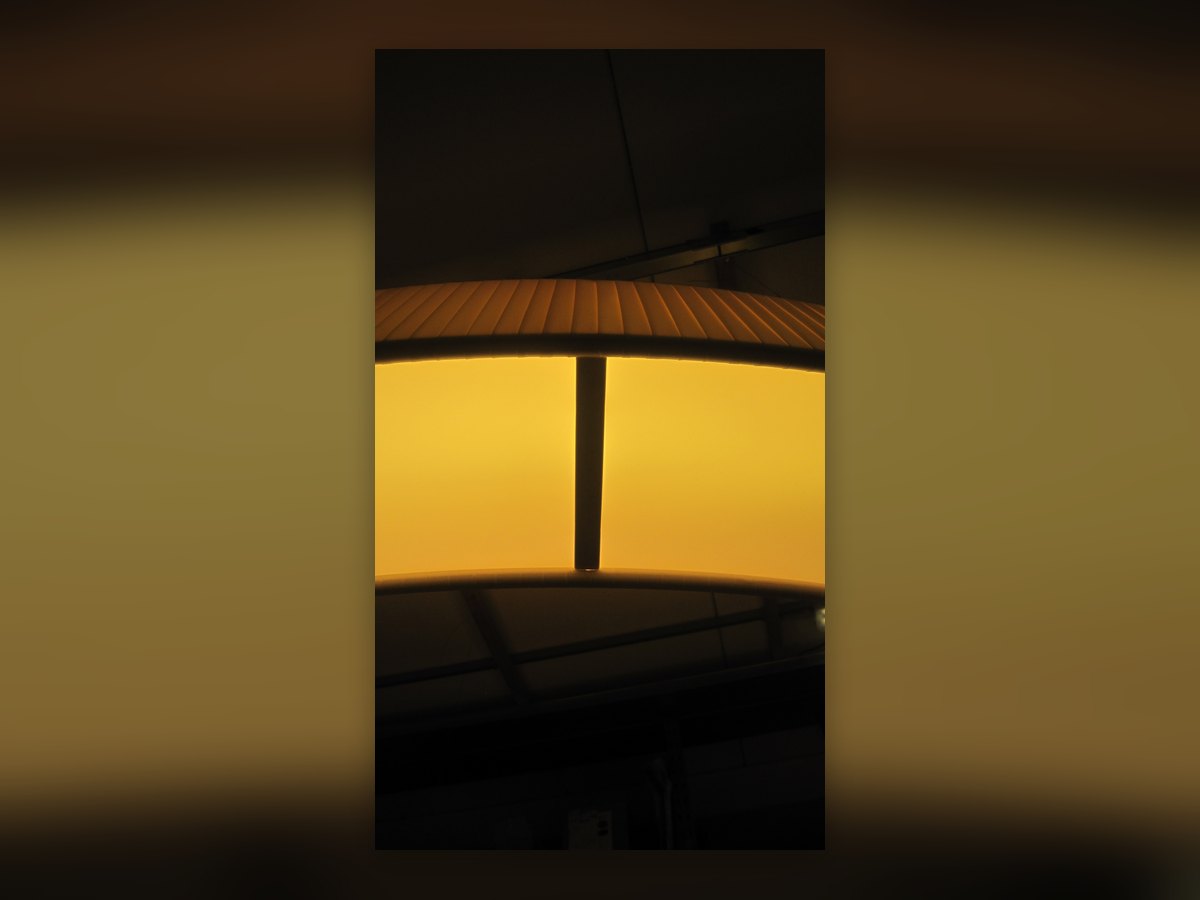
The joint between two sections, lit
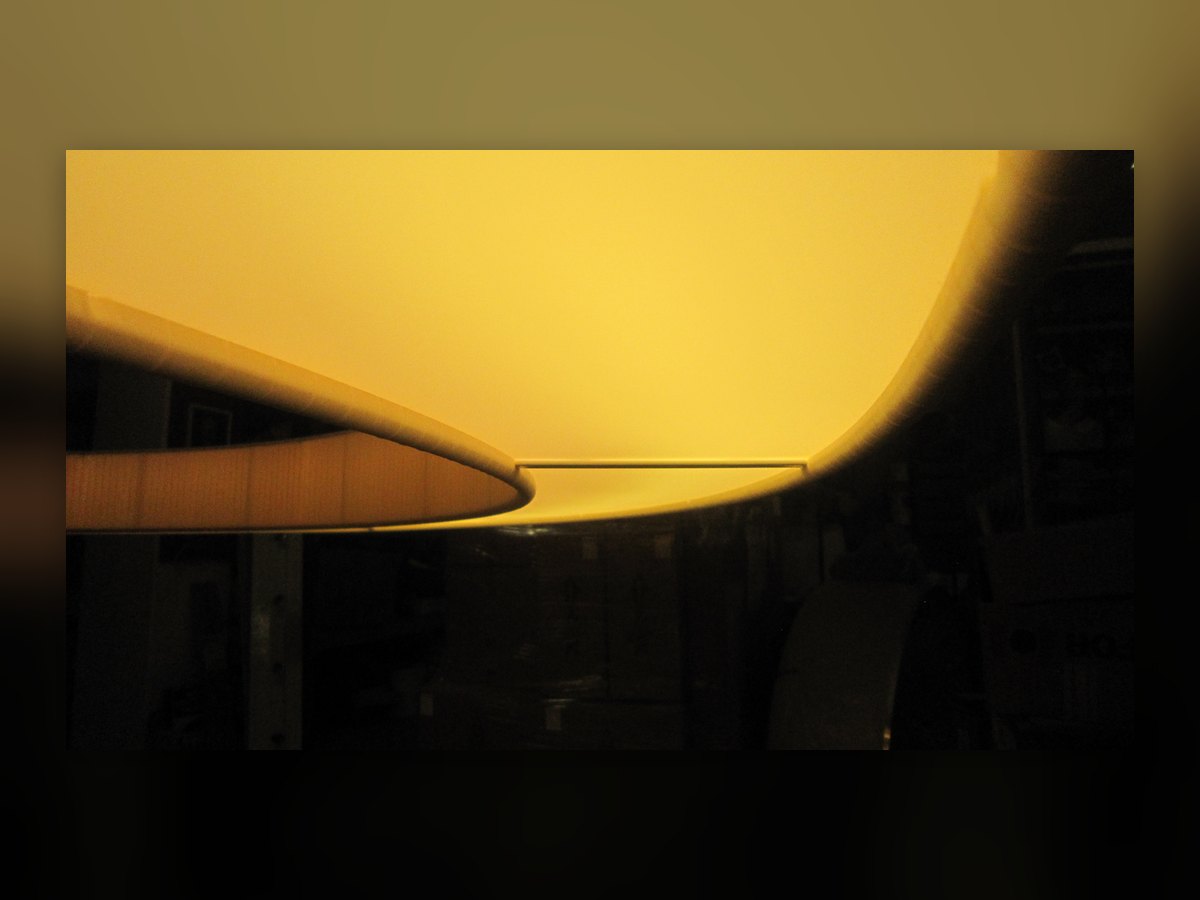
The curve of the shade, lit from inside
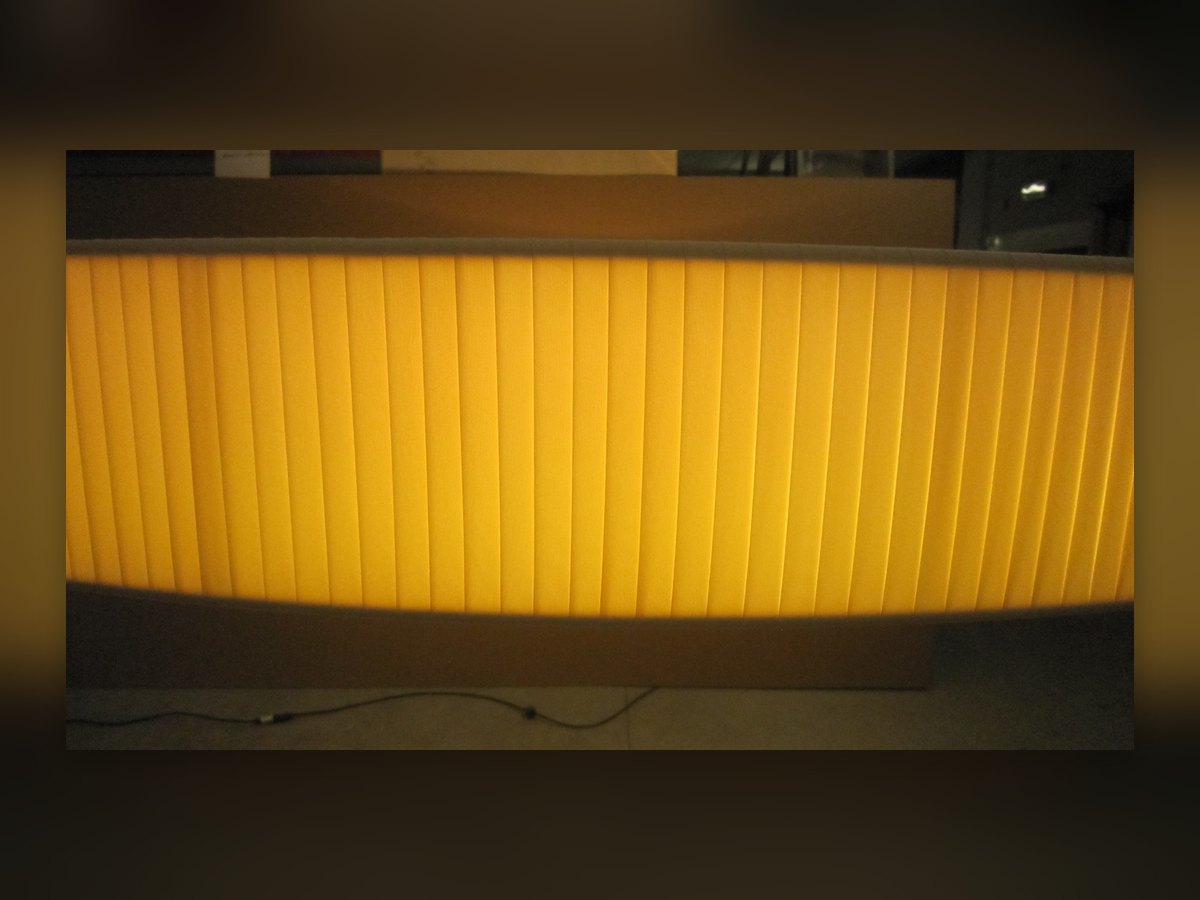
The pleats up close
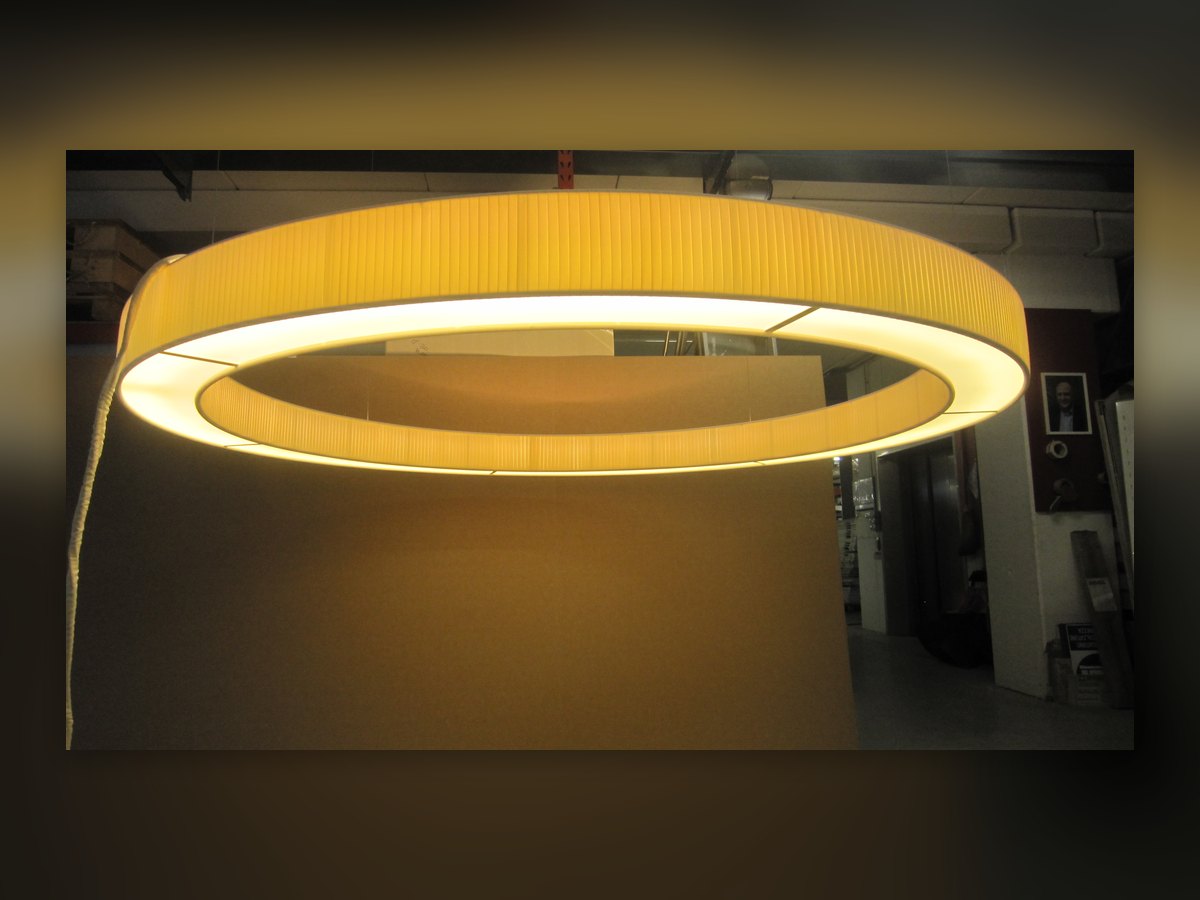
The lighting test in the workshop
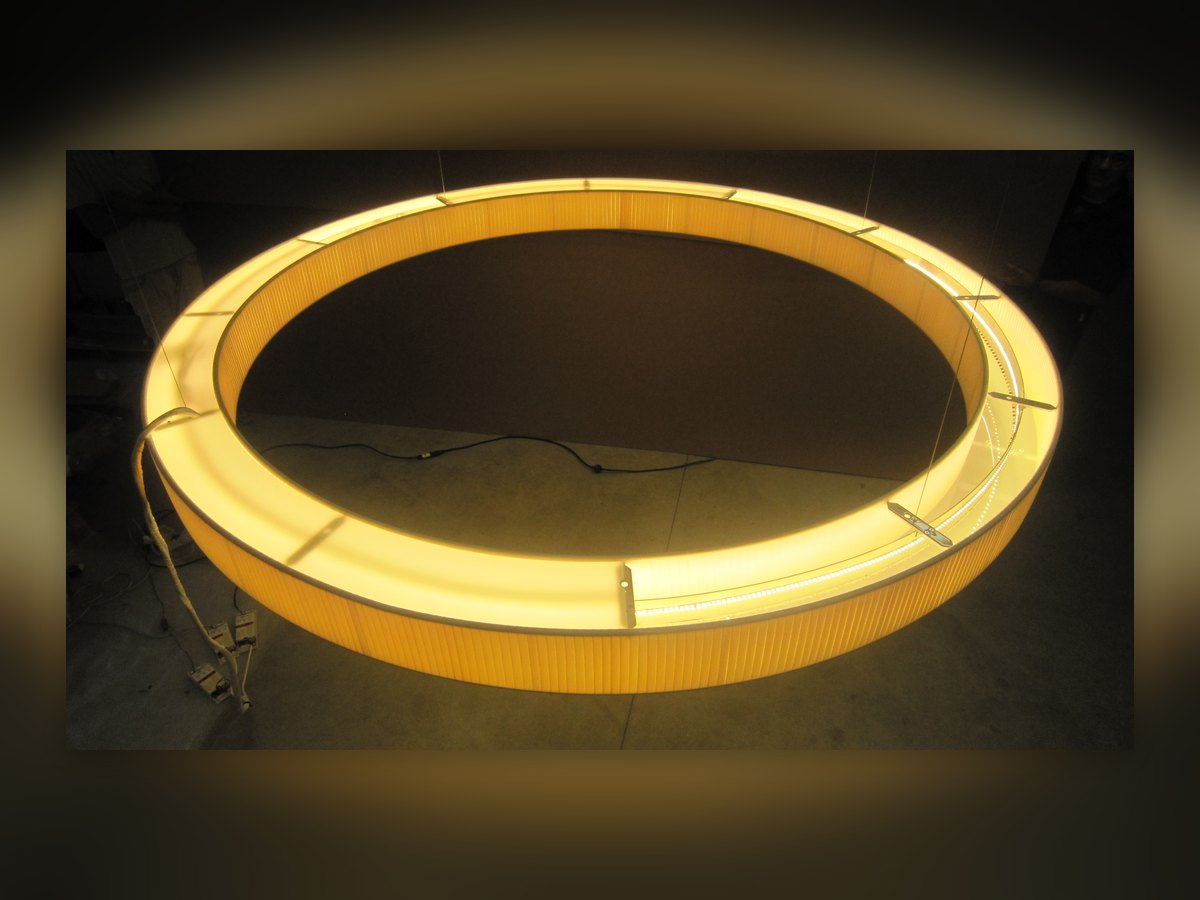
The ring switched on, seen from below
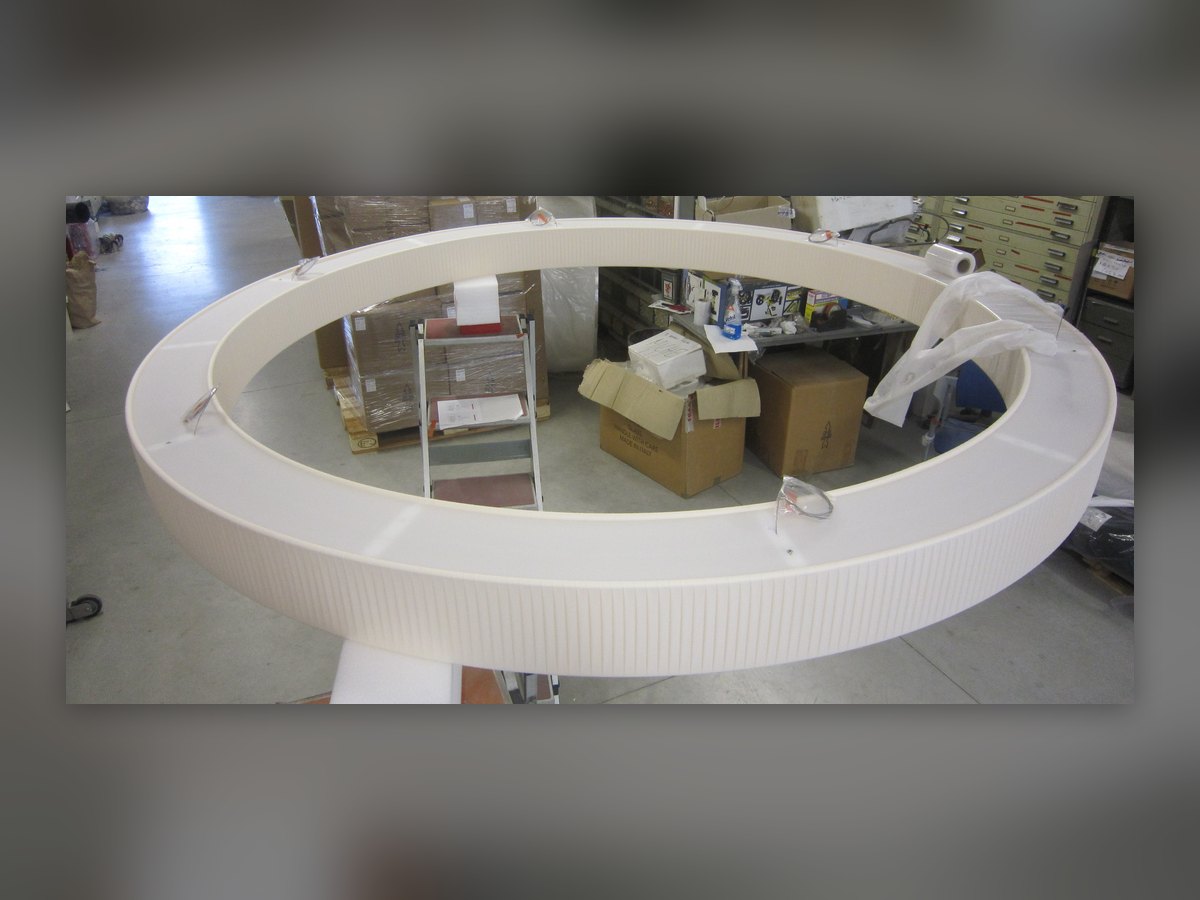
Finished, before packing
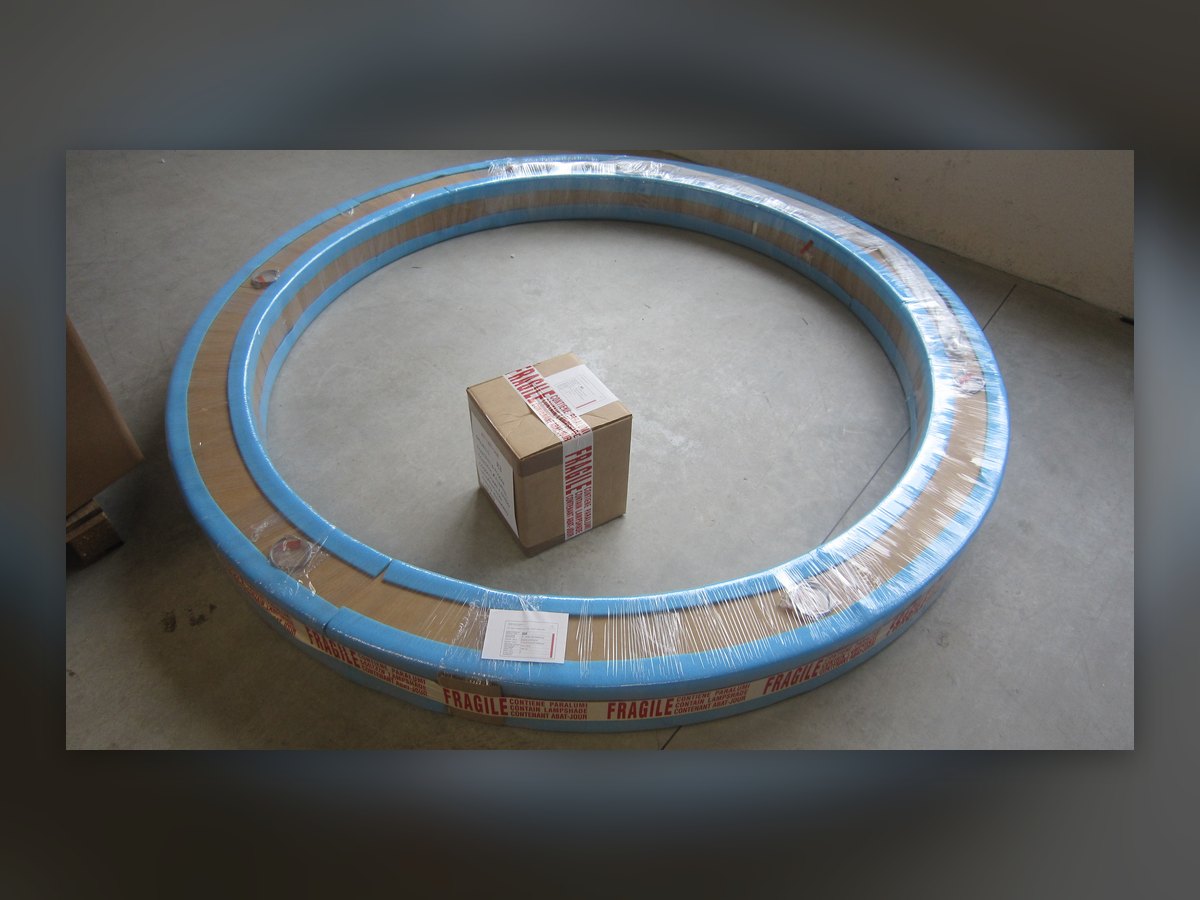
Packed with the box of components
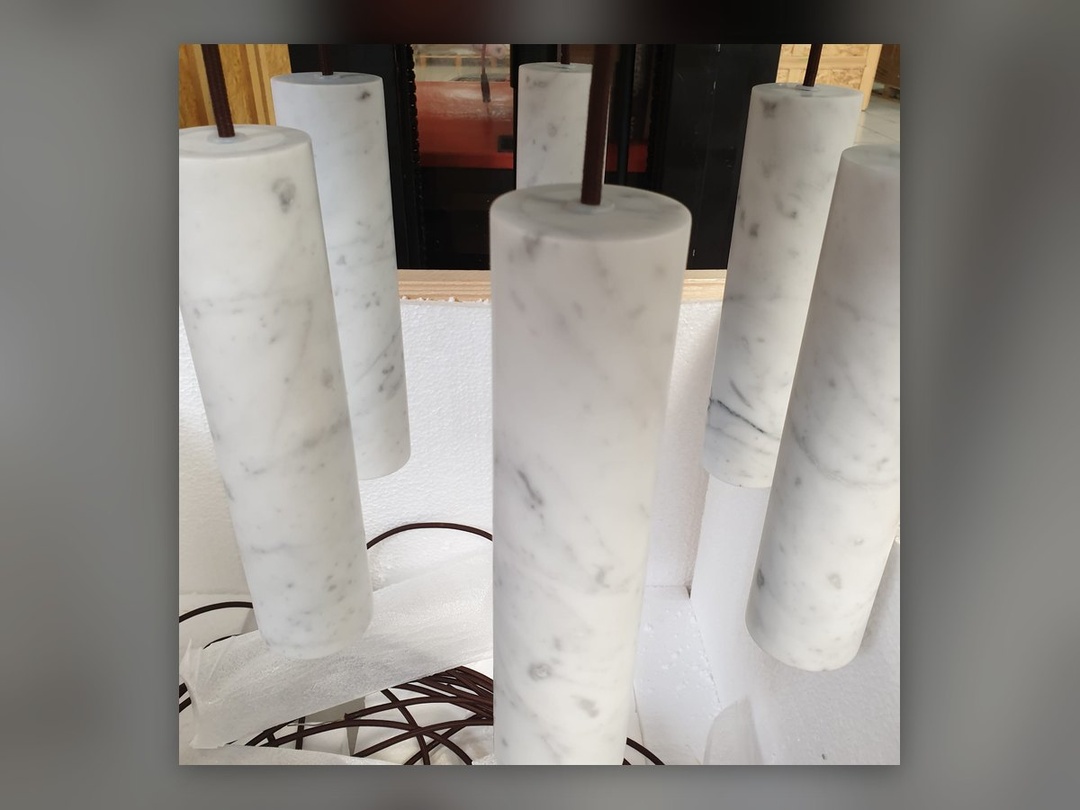
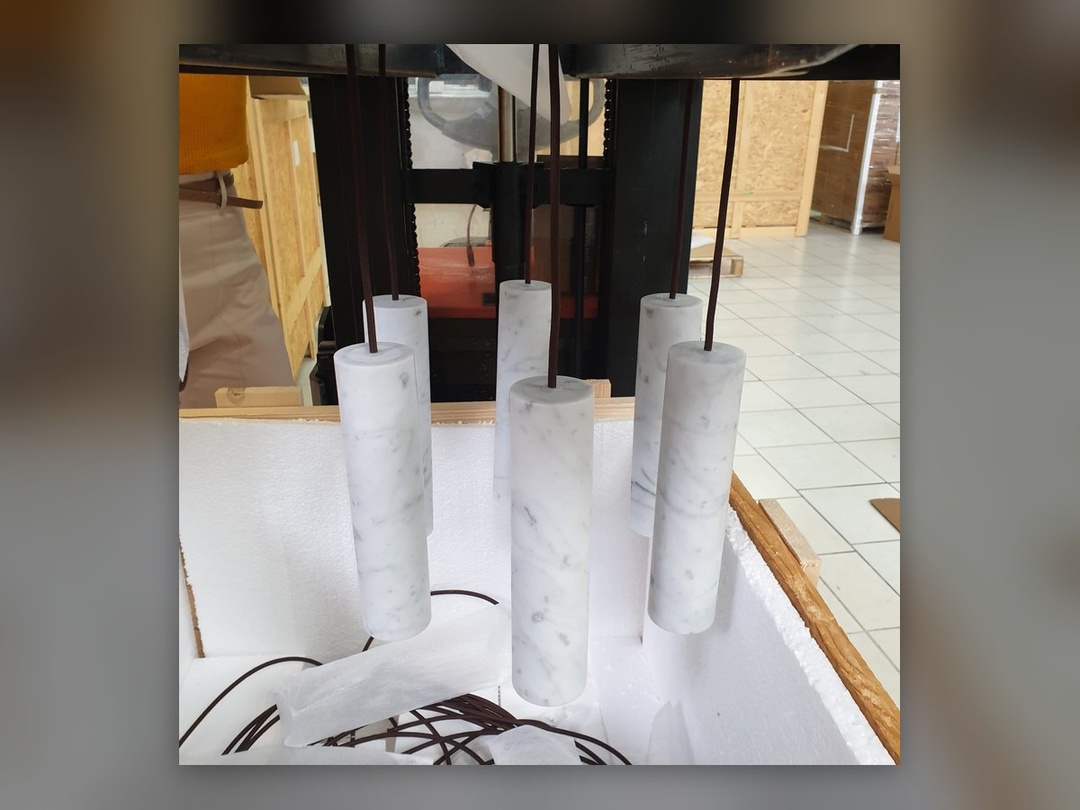
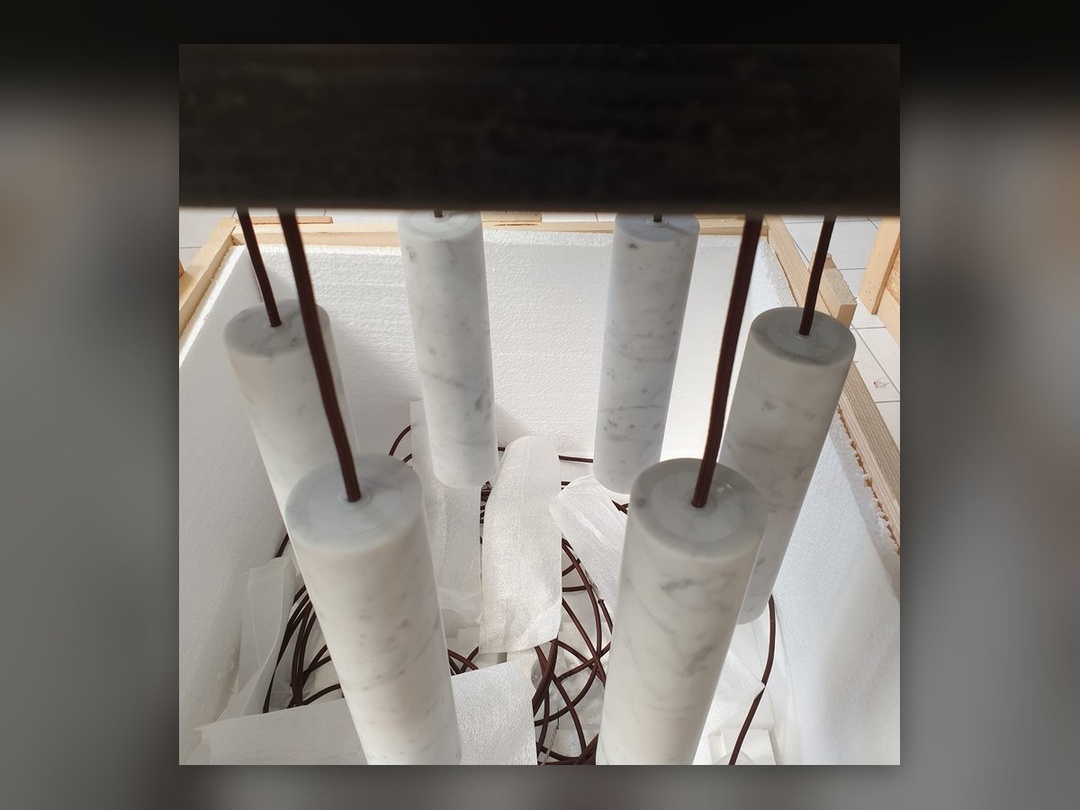
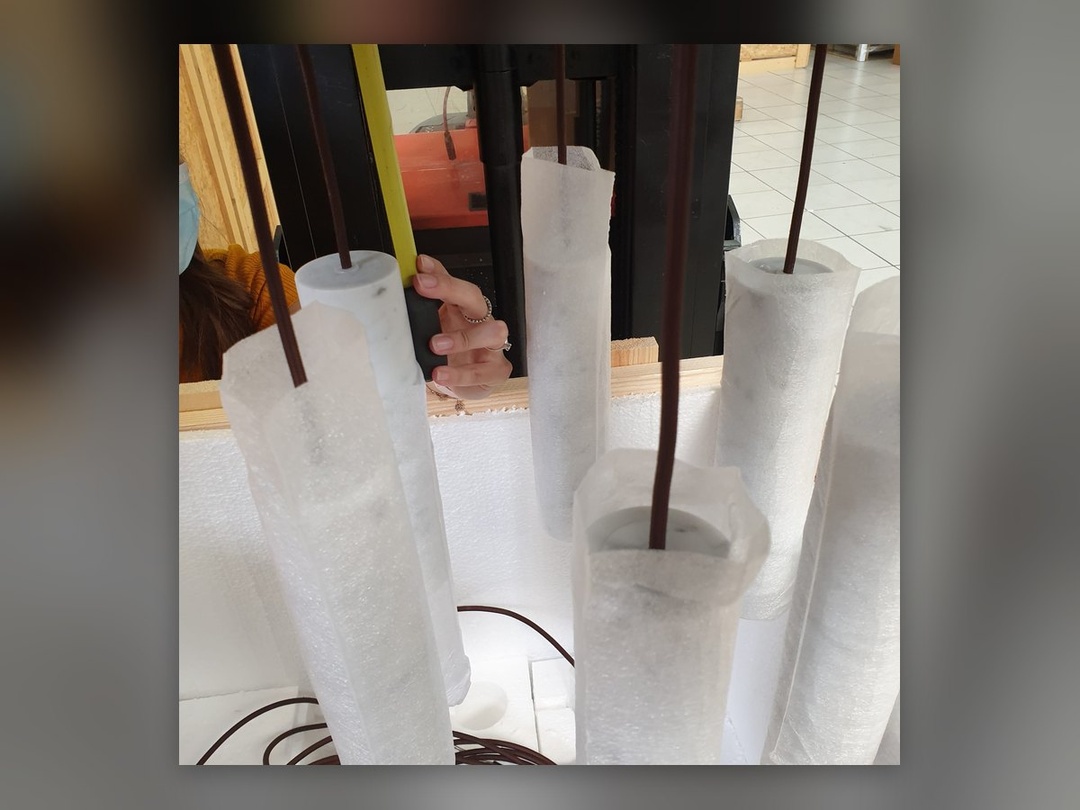
White marble cylinders, ready for the journey
Each cylinder has its own height and its own cable. Before shipping they are hung above the crate, checked and wrapped one by one in tissue paper.
The number on the tape and the number in the manual are the same number
Every segment carries a strip of masking tape with a hand-written number. It is not a flourish: it is the only way the part finds its place again after being dismantled, crated and shipped.
The installation manual, which travels in the crate in five languages, tells the installer one thing: follow the numerical progression.
The number on the piece and the number on the ring are the same number
The installation manual is not a brochure: it is the reason a chandelier taken apart in Italy goes back together ten thousand kilometres away without a phone call.
8
numbered tips, one at a time
25
tubes on the large ring
9
circular levels of rods
4
electrical points marked inside the ring
1 · Central form
Four LC2052-8-06 discs to the ceiling, with the cable exit at the centre of four support bars. It is the zero point of the whole assembly.
2 · Large ring
Twenty-five LC2052-8-22 tubes screwed into the holes of the ring, then eight LC2052-8-09 elements fixed with two M8 screws each. The four electrical points are marked inside the ring.
3 · Eight tips, numbered
They go up one tip at a time, starting from N.1, and each tip meets the LC2052-8-09 element carrying the same number marked on the large ring. The covers carry the number of the right position too.
Why the number matters more than the beauty
In the manual the sentence is one, and it governs everything: «follow the assembly instructions by reading the numerical progression». It is not advice: it is the difference between an assembly done in a day and a site standing still. That is why every piece leaves the workshop already numbered, and the number is written on the piece, on the cover and in the manual.
The plant tested flat on the floor, before any cabling
Nine seconds of workshop: the electrical plant of the whole star, laid out on the floor at full scale and switched on, before a single cable enters the structure.
Every cable carries its section and its colour written on it — 1X 1.5 mm² RED, BLACK, EARTH — and every position its number. If something does not add up, it is found here: on the floor, in the workshop, where it costs an afternoon. On site it would cost a week and a scaffold.
The star lit for the first time, on the workshop floor
The copper-lacquered points laid on the floor with the bulbs on, and the numbered wiring diagram beside them: every light point is tested before assembly.
Video without sound, 16 seconds.
The copper fretwork seen from below, with the diagram in hand
Under the star, the drawing of the parallel circuit and the fretwork that hides it: every cable route is checked against the drawing.
Video without sound, 11 seconds.
The manual, and the number written by hand on the piece
Sixteen pages in five languages that travel inside the crate. Not a brochure: the reason an installer who has never met us reassembles, ten thousand kilometres away, an object that left the workshop in pieces.
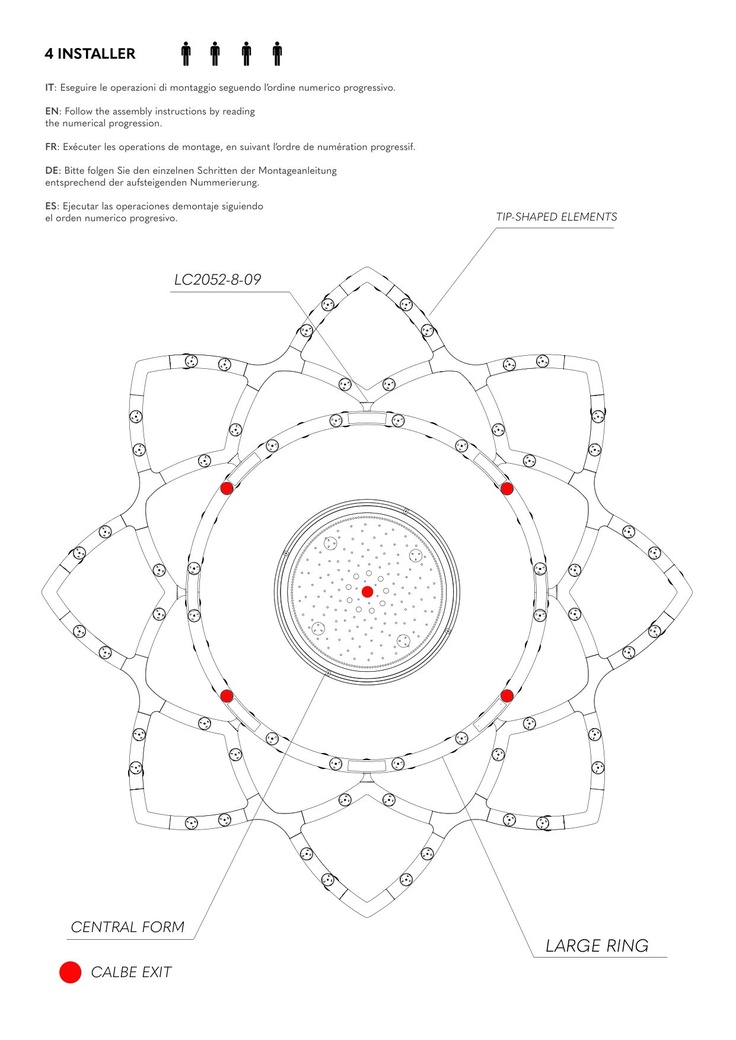
The plan: central form, ring and eight tips
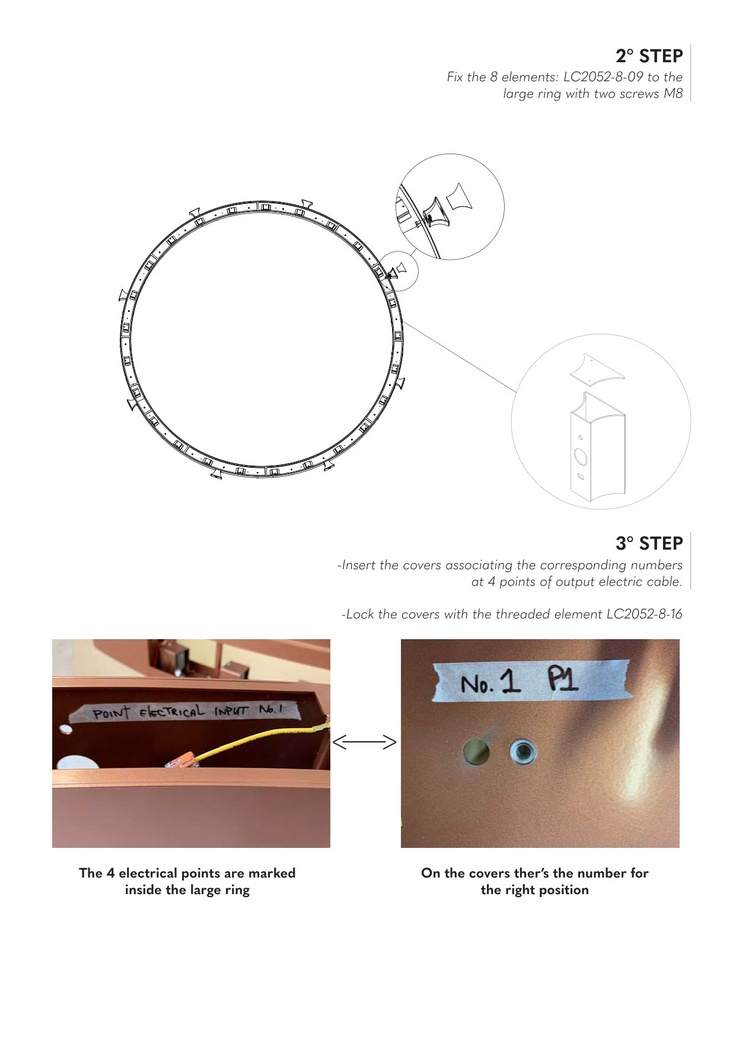
«POINT ELECTRICAL INPUT No. 1», handwritten on the tape
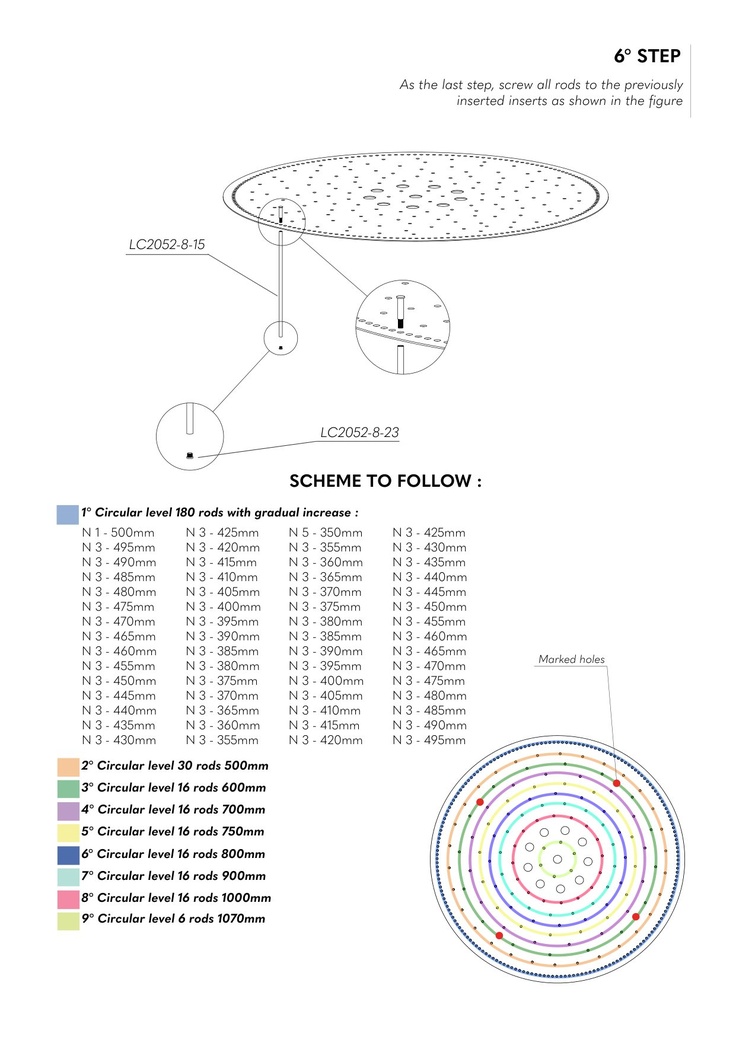
The nine rod levels, from 350 to 1070 mm
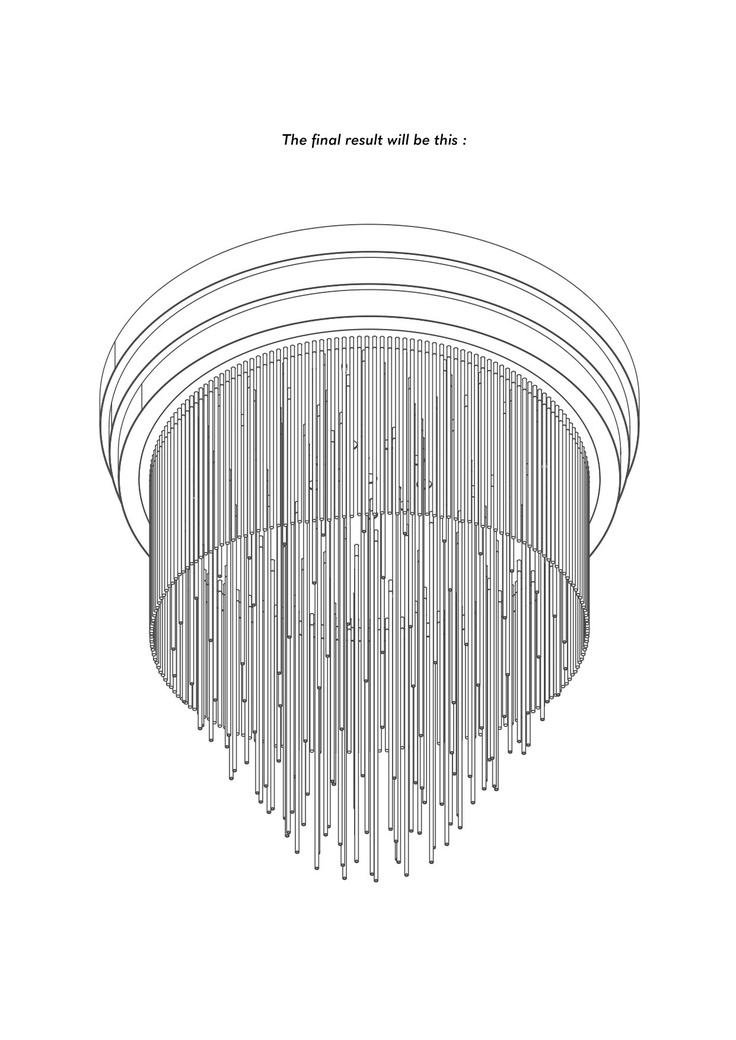
The result, drawn before it existed
The first line of the manual is the same in all five languages, and it governs everything that follows: «follow the assembly instructions by reading the numerical progression». Everything else descends from it — the tips go up one at a time starting from number 1, and each meets the element carrying the same number on the ring. A piece without a number would not be a simpler piece: it would be a site standing still.
The materials, and what happens when they get hot
Blown glass, marble, vacuum-chromed ceramic, stainless steel.
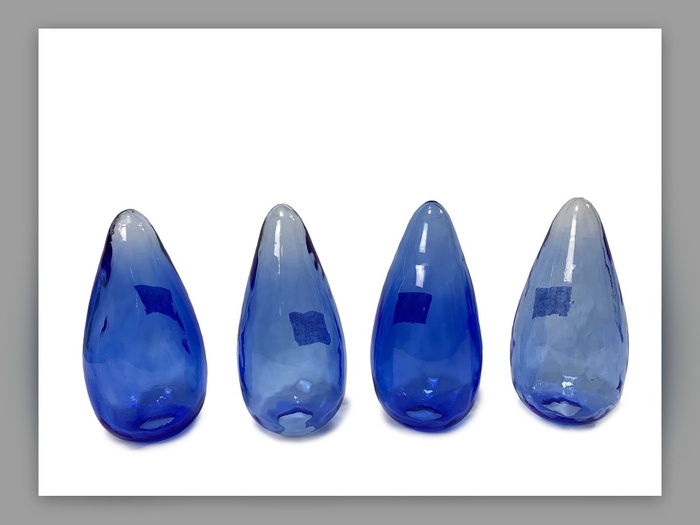
Blown glass
Blown glass never comes out identical twice: sizes are chosen afterwards, by matching.
Ask for the calculationHandcrafted lighting: the materials and how it is made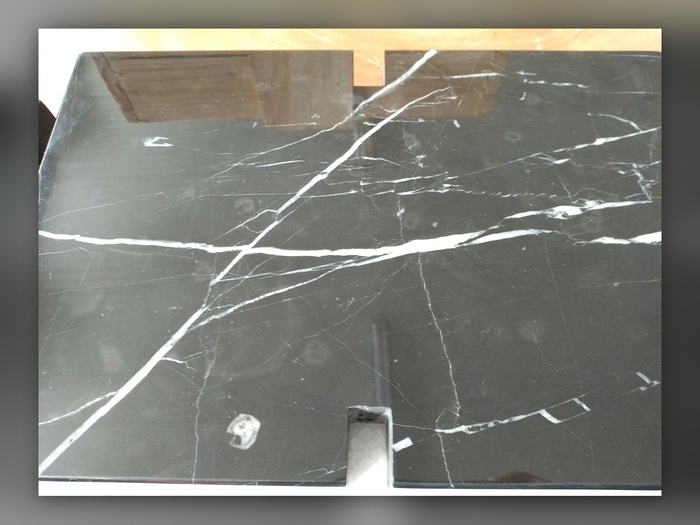
Veined black marble
Marble arrives as a slab and returns with the recess already milled: the seat of the source is machined, not glued.
See the projects
High-vacuum chromed ceramic
Vacuum-chromed ceramic holds its colour where a paint would yellow.
Try Lumina ForgeWhat the specification actually asks for
Figures taken from the shop drawings, not from the brochure.
105
blown glass elements
123
LED spotlights
296
tubes in nine lengths
5.053
millimetres across
One hundred and eighty tubes growing a millimetre at a time
On the track chandelier drawing the tube table reads: type 1, 180 pieces, height increasing from 333 to 500 mm. Then eight fixed types, from 500 to 1070. That is the line that explains why, past a certain size, the catalogue ends.
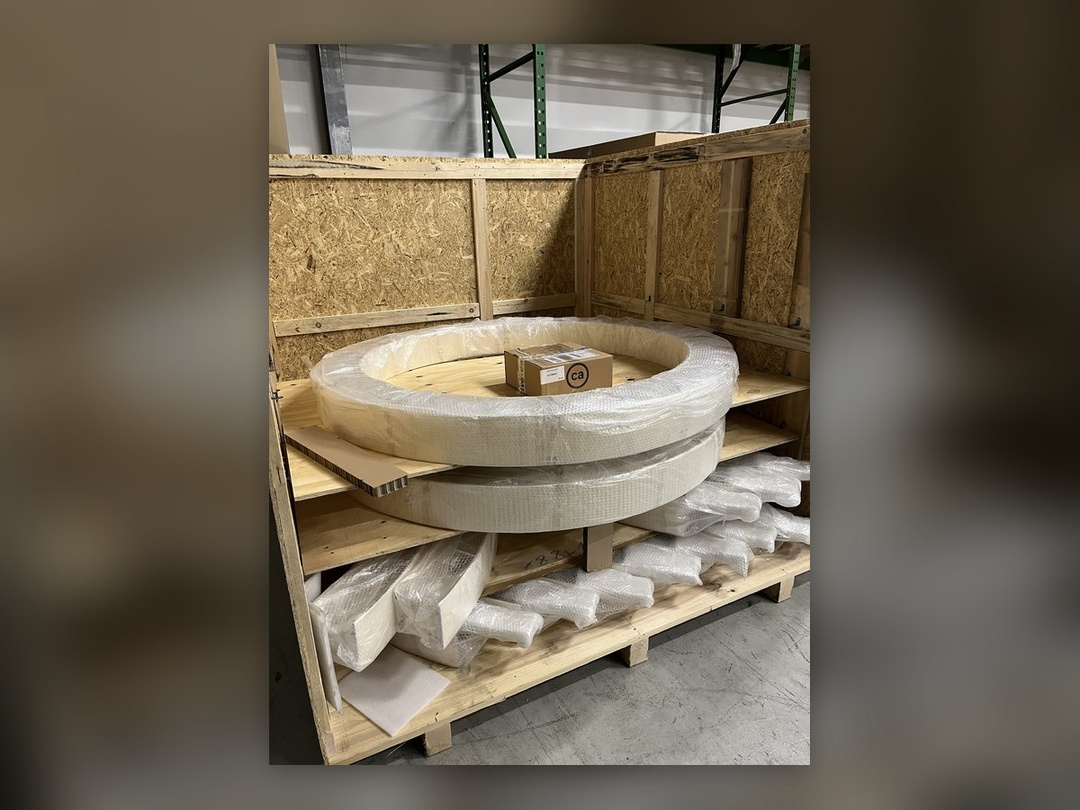
The crate is part of the supply
A curved structure does not fit a standard crate, and the wrong crate turns six months of work into a complaint. Crates are built around the parts, not the other way round.
From the hand drawing to the production file
The first mark is still made in pencil. What changed is what happens next: renders, dimensioned CAD and production files arrive in hours, not weeks, and while the architect is still drawing there is already an indicative quotation to work with.

From the digital project to the piece that reaches the site
A bespoke lighting project starts long before the workshop. It starts with an architect describing what they have in mind, and with Lumina Forge giving it back within minutes as a render and as a dimensioned drawing — what site people call a shopdrawing.
The drawing beside this text is real and readable: 4,000 mm across, 1,200 mm high, 450 mm deep, with front, side and bottom views plus two construction close-ups. The title block carries our own name, because the project is ours from the first minute.
Try Lumina ForgeTwo different objects, and we say so
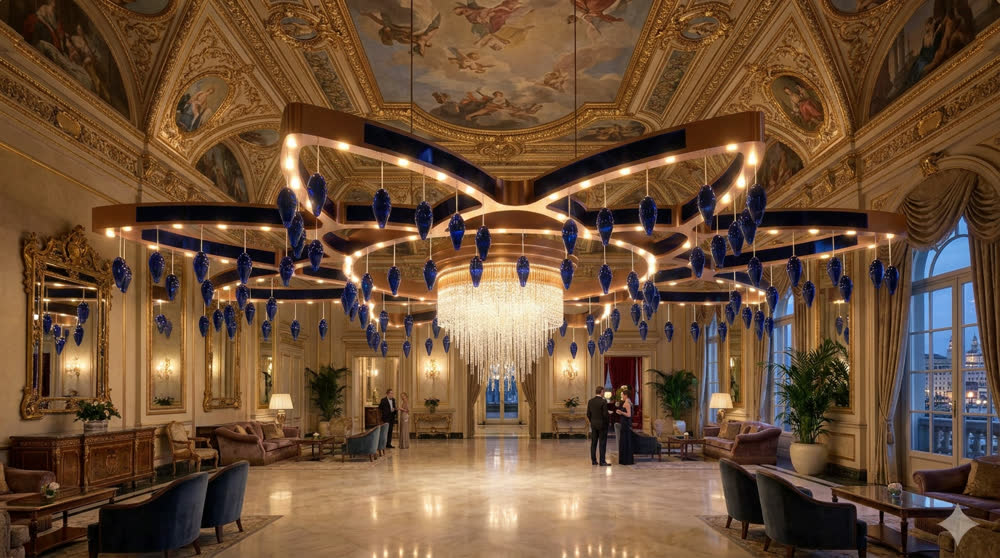
The chandelier in the render and in the dimensioned drawing is project LF-N2WWJRIQM: sinuous bronze-finish frame, blue blown-glass pendants, crystal cascades. The eight-pointed star in the workshop photographs is a different piece. They share this page because together they say the thing that matters: the same place draws and builds.
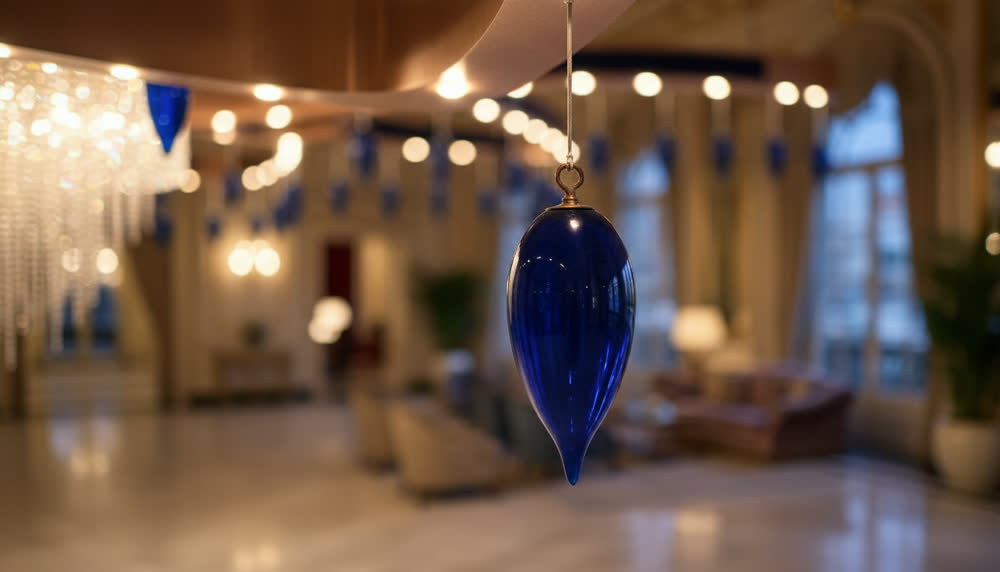
Close-up of the blue blown-glass pendant with its metal safety clamp
Are you an architect or a design practice?
Describe the fitting you have in mind and get a render and a dimensioned drawing. Then, if the project goes ahead, we build it — in the same workshop as the photographs above.
Try Lumina Forge Talk to the Live AdvisorDo you need this, on a real project?
Shop drawings, an installation manual in five languages, bespoke crates and one contact from specification to installation.
The FF&E service